Most of the golfer has experienced that moment of uncertainty on the course – walking up to a ball, hoping it’s yours, only to realize it belongs to your playing partner. That’s why you need to know how to mark your golf ball. Properly marking your golf ball isn’t just about following the rules; it’s an essential skill that can save you from penalties, prevent confusion, and even add a personal touch to your game.
Whether you’re a beginner or a seasoned player, understanding the art and science of golf ball marking will enhance your playing experience and ensure compliance with official regulations.
According to the USGA Rule 6.3a, players must be able to identify their golf ball without question. Playing the wrong ball results in a two-stroke penalty in stroke play or loss of hole in match play. This simple mistake can be easily avoided with proper ball marking.
Common Scenarios Where Ball Marking Matters
Tournament Play: When multiple players use the same brand and model of ball
Casual Rounds: To quickly identify your ball in rough or hazard areas
Practice Sessions: Keeping track of multiple balls on the practice green
Winter Rules: When lift, clean, and place is in effect
Types of Golf Ball Markers
Marker Type
Durability
Visibility
Best Use Case
Permanent Marker
High
Excellent
All-around use
Golf Ball Stamp
Very High
Outstanding
Professional play
Paint Pen
Medium
Good
Artistic designs
Stencil Kit
High
Excellent
Custom patterns
Ball Liner
Medium
Good
Alignment aid
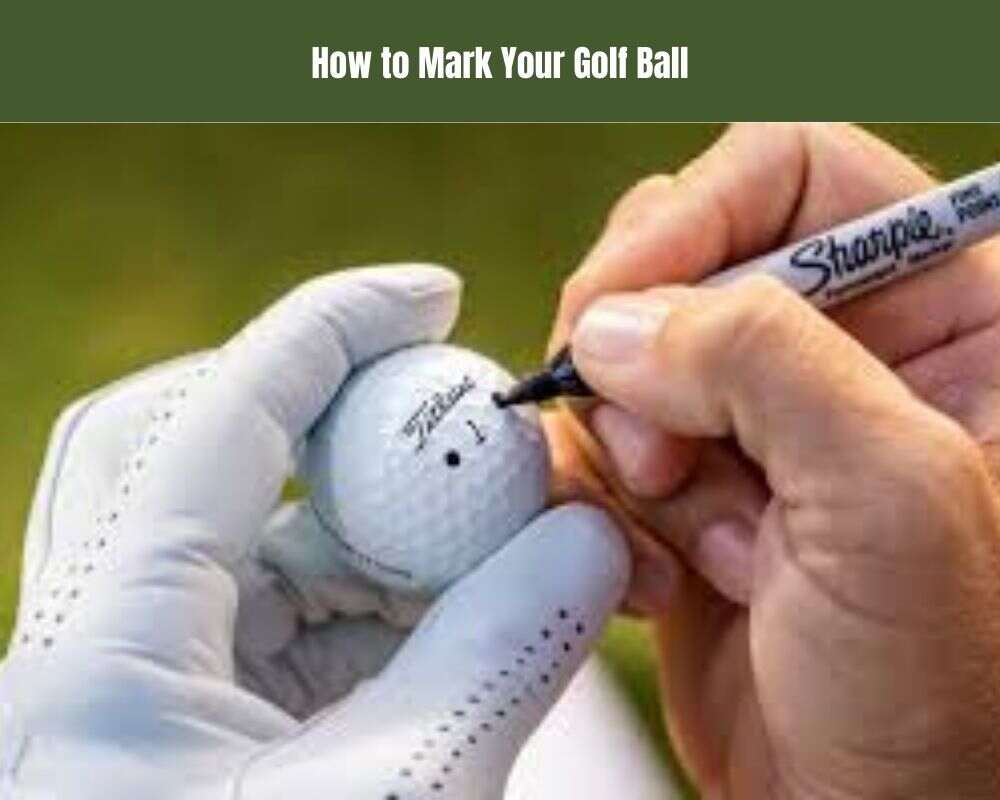
How to Mark Your Golf Ball – Essential Methods
Traditional Line Marking Technique
The line marking method has become increasingly popular among both amateur and professional golfers. This technique not only helps with identification but also serves as an invaluable alignment aid.
Step-by-Step Line Marking Process
Clean the ball surface thoroughly with a golf ball cleaner or damp cloth
Place the ball on a flat surface
Use a ball liner or thin-tipped permanent marker
Draw a straight line around the ball’s equator
Add a perpendicular line for putting alignment (optional)
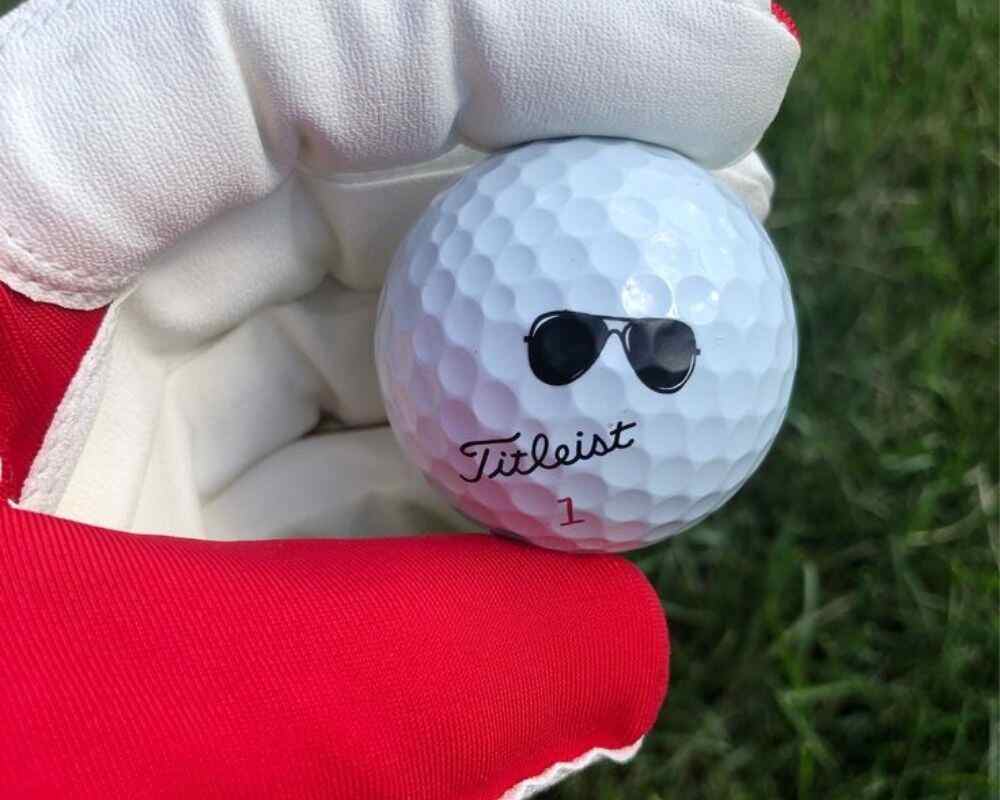
Advanced Identification Patterns
Pattern Type
Complexity
Recognition Factor
Additional Benefits
Dots Pattern
Low
High
Quick to apply
Initials + Number
Medium
Very High
Personal connection
Custom Symbol
Medium-High
Excellent
Unique identification
Triple Line System
High
Outstanding
Multiple alignment options
Circle Pattern
Low
Good
Enhanced visibility
Professional Marking Tips
Color Selection Guide
Black: Classic choice, visible on white balls
Blue: Excellent contrast, professional appearance
Red: High visibility, especially in low light
Green: Subtle but effective, particularly for alignment
The governing bodies of golf have specific guidelines for ball marking in competitive play. Understanding these rules is crucial for tournament participation.
Official Requirements
Mark must be permanent and visible
Identification must be unique within your playing group
Marks cannot affect ball performance
Alignment aids are permitted but must follow size restrictions
Professional Tour Player Marking Trends
Pro Player
Marking Style
Purpose
Notable Feature
Tiger Woods
Single Black Dot
Simple identification
Always marks “TIGER”
Rory McIlroy
Red Line + Number
Alignment + ID
Uses personal lucky number
Jordan Spieth
Arrow Pattern
Directional aid
Includes initials “JS”
Dustin Johnson
Double Dot System
Quick recognition
Consistent placement
Brooks Koepka
Minimal Line
Putting alignment
Uses specific marker brand
Practical Applications and Maintenance
Weather Considerations
Wet Conditions
Use waterproof markers only
Apply marks on clean, dry surface
Consider double-marking for backup
Hot Weather
Avoid marks melting or running
Use heat-resistant inks
Reapply marks more frequently
Mark Maintenance Schedule
Playing Frequency
Recommended Marking Frequency
Check Points
Daily Play
Every 2-3 rounds
Before each round
Weekly Play
Every 4-5 rounds
Start of week
Tournament Play
Before each round
Multiple times per round
Casual Play
When marks fade
Before starting
Practice Sessions
Weekly
Before major practice
Advanced Marking Techniques and Problem-Solving
Specialized Marking Solutions
Multi-Purpose Marking Systems
System Type
Primary Benefit
Secondary Use
Implementation Difficulty
Triple Line Method
Alignment + ID
Spin tracking
Moderate
Quadrant System
Ball positioning
Practice aid
Advanced
Cross-Hair Pattern
Precise putting
Shot alignment
Moderate
Dot Matrix
Unique ID
Spin observation
Simple
Hybrid System
All-purpose
Tournament ready
Advanced
Troubleshooting Common Issues
Mark Durability Problems
Issue: Marks wearing off quickly
Solution: Clean ball surface with alcohol before marking
Prevention: Use premium markers designed for golf balls
Maintenance: Apply clear nail polish over marks for longevity
Visibility Challenges
Issue: Marks difficult to see
Solution: Implement contrasting color system
Prevention: Test marks under various light conditions
Adjustment: Use thicker lines or larger symbols
Professional Tips and Tricks
Practice Session Enhancement
Use different marks for different types of practice
Track ball performance with specific markings
Implement a rotation system for ball usage
Competition Preparation
Prepare backup balls with identical markings
Photograph your marking system for reference
Carry multiple marking tools in your bag
Conclusion
Mastering the art of golf ball marking is a crucial skill that extends beyond simple identification. A well-thought-out marking system can improve your alignment, boost confidence, and ensure compliance with rules while adding a personal touch to your game.
By following these comprehensive guidelines and maintaining a consistent marking routine, you’ll enhance your golf experience while avoiding unnecessary penalties and confusion on the course. Whether you’re a weekend warrior or a competitive player, proper ball marking is an essential aspect of the game that deserves attention and practice.