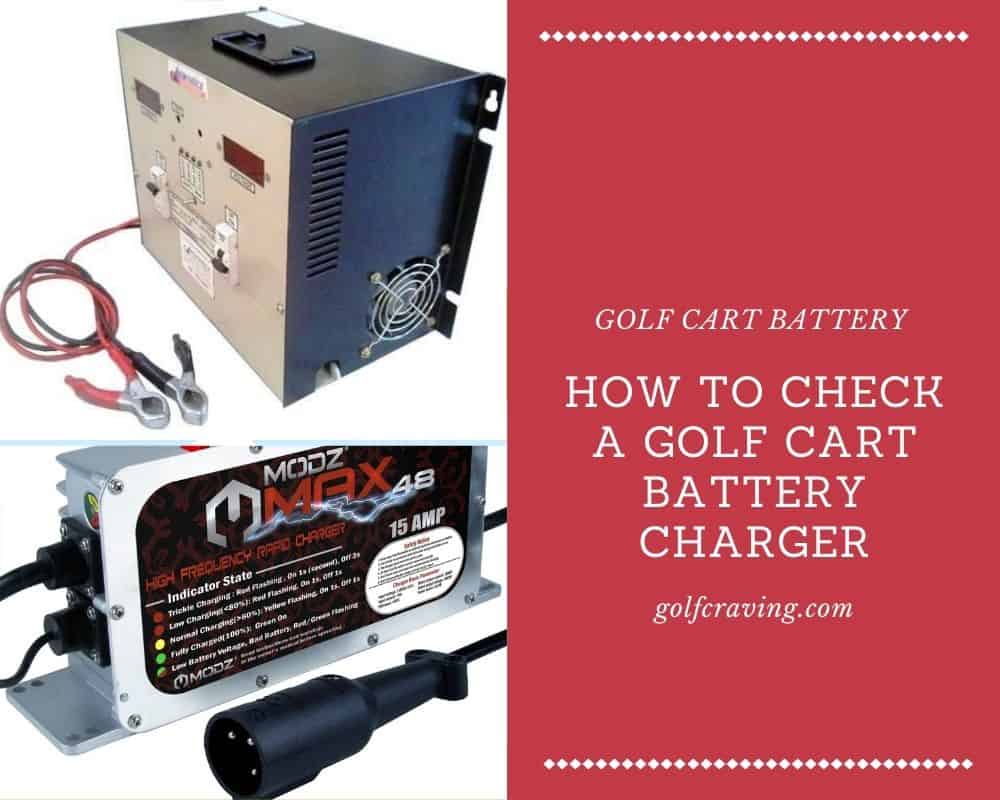
For the electric golf cart owners, one of the most common issues is known as the problem with the golf cart battery charger. The motor of the cart gets all the energy and power from the battery. Without charge, the battery is useless, and so is your electric golf cart. For this reason, you need to have a clear idea of how to check a golf cart battery charger.
Any kind of problem with your golf cart battery charger arises when you keep charging the battery on a continuous basis without following any routine maintenance. Honestly speaking, there are lots of stuff to do (like cleaning the charging cable) if you want to have your golf cart battery gets fully charged without any issue. Keep in mind that the battery charger can’t charge a battery with a leak or is low in acid.
To avoid situations like waking up in the morning and finding out a dead golf cart (for not having a fully charged battery), you need to understand how to check a golf cart battery charger. Also, there are some other essential factors that you need to keep in mind in order for the battery to charge your golf cart properly.
In this regard, I have done deep research and come up with this comprehensive discussion where I am going to explain everything you need to know about how to test your golf cart battery charger. Throughout this discussion, I will be trying to educate you with lots of problems and issues regarding your golf cart battery charger.
So, this article is of great importance to every golfer who owns an electric golf cart.
Let’s jump into the details now….
Basic Steps to be Followed
You might have the best electric golf cart, and you may want to buy a new golf cart battery charger to keep your cart active without any unnecessary problem. For this purpose, you may wish to purchase a new battery charger for your golf cart as soon as you find an issue.
However, it is not a wise decision to make as there are some necessary steps I want you to follow before buying a new golf cart battery charger.
Like any other type of diagnostic & testing procedure, you have to follow 3 basic steps for diagnosing & testing of your golf cart battery charger.
Here are the 3 steps I would recommend –
- Confirming the Issue.
- Isolating the issue.
- Repairing the issue.
Although I have just mentioned 3 basic steps, there are actually more steps involved when want a clear knowledge of how to check a golf cart battery charger.
Golf Cart Battery Charger Requirements
Before we start our detailed discussion on testing a golf cart battery charger, you need to have specific information regarding your golf cart battery charger requirements. So, I have designed this particular section based on all the requirements for a golf cart battery charger to turn itself on.
Required Currents Explained
AC Current
In order for the charging unit to work properly, you have to plug into the appropriate power supply. In this case, I would recommend you read all the instructions regarding power requirements, which you will find on a sticker stick to the backside of your battery charger.
As far as I am concerned, almost all types of golf cart battery chargers typically get charge on 110VAC. However, some battery chargers have options of operating on multiple voltages, for instance, power grids like in the US vs. Europe. In this case, you will find something like 110/230VAC on the sticker printed on the backside of the battery charger.
It is always the best idea to check the power supply requirements instructions labeled on your golf cart battery charger before you take any step to start charging the battery.
DC Side Connection
This is basically the cord or wire attached to a connector that you need to plug into your electric golf cart. In this case, DC means “Direct Current” and AC means “Alternating Current”. And, this is what an electric golf cart charger mainly does. To put it simply, it converts the AC power into DC power with a view to charging or replacing the electricity for charging the batteries of the golf carts.
Required Connections Explained
Golf Cart Side Charging Port
This is the connection of the charging port of your golf cart. It works as the receptor of the power or current.
Batteries
And the 2nd one is the connection of the battery that receives power or current from the charging port to charge itself.
Hence, it indicates that just because you plug the golf cart charger into any wall socket, and then into your golf cart doesn’t necessarily mean a secure connection has established to charge the batteries of your golf cart. All you can call it is just an assumption.
To make the confirmation, you have to keep reading on….
How to Check a Golf Cart Battery Charger? – Step by Step Procedure
Well, this is the section where I am going to explain all the steps regarding how to check a golf cart battery charger. My advice for every golfer is to read this entire section with the utmost attention so that you can get a clear understanding of all the necessary steps required for checking a golf cart battery charger.
Here we go….
Step 1 – Checking Whether the Battery Charger Has Any Issue

First of all, let me let you the fact that the latest battery chargers will not start charging the golf cart batteries if it doesn’t find any original charge in those batteries. It happens mainly because the automatic battery charger requires at least some voltage in those batteries to start to work (meaning the supply of power to the golf cart battery). The minimal voltage requirement, in this case, is somewhere near 20 to 35 volts.
If you find out that your golf cart battery charger is not charging the batteries, then I would recommend you to try the same charger with a similar golf cart. Trying this method will help you to understand whether there is a fault with your charger or not.
However, in this case, you have to read the charging instruction of the other golf cart that you will pick to try with your golf cart battery charger. If the charging requirements don’t match, then it is advised not to go for this procedure.
If you don’t find any other golf cart that is compatible with your golf cart battery charger, then it is would better to move on to the next step.
Step 2 – Checking if Power is Supplying to the Battery
This step is one of the most important steps you need to perform to check the charger of a golf cart battery.
For this purpose, you need to manage a voltmeter (commonly known as voltage tester).
At first, connect the voltmeter to the positive and negative clamps of your golf cart battery charger. On that voltmeter, you will see a needle that moves from left to right (clockwise direction) for demonstrating the level of amps.
When you see the needle is on the left side corner, there is no amps or power. Contrarily, if you see the needle on the exact right corner of the voltmeter, it indicates that your golf cart battery has full power with the maximum amperage.
In this case, you should keep in mind that a battery charger of the golf cart can exhibit a maximum of 36 amps on a voltage tester or voltmeter.
Step 3 – Checking the Batteries
For this particular step, you will also require a voltage tester, as mentioned in the previous step.
First off, connect the voltage tester with all the batteries of your golf cart and start measuring the output voltage of those batteries. Now, check carefully whether it shows the minimum amount of voltage needed for actuating the charger.
To find out the minimum voltage amount, you have to check the manual of the battery charger. In the manual of your golf cart battery charger, you will find clear instructions written about the minimum voltage.
If the voltage tester shows that your batteries do not meet the minimum voltage or above, then we can say that the problem is with the batteries. For a full diagnosis of the battery, you can check out comprehensive discussion on how to test the battery of a golf cart charger.
So, what are you going to do at this point? Well, you have to move on to the next step.
Step 4 – Charging the Batteries Individually
As discussed in the earlier step, if you see that your golf cart battery doesn’t have a minimal charge, then you have to charge the batteries separately. Or, even if you see that the batteries are too low in charge, then you also have to follow the same procedure using a regular and active old car battery charger (specifically the 12-volt variant).
In this case, you can either charge the batteries to its full capacity or until it meets the minimum voltage requirement. If your golf cart has 12-volt battery variants, then this will be an easy-to-perform procedure for you. But, if there are 8-volt batteries in your electric golf cart, then you have to follow either of the following two procedures.
- Choose the 12-volt setting along with a 4.5ohm, 10-watt resistor with the card charger. The resistor will control the flow of current once the batteries get charged to an amp.
- The second method will require you to pick the 6-volt setting to your automotive charger. Then you have to charge the batteries separately or individually and wait till it reaches 7.9 volts. This particular voltage setting is enough for each of those batteries to make them ready to be used with the golf cart battery charger.
Step 5 – Checking the Cables of the Charger
Before we reach the decision where we can say that the problem is with the battery charger, you have to check the cable of the battery charger. In this case, first, you have to plug the charging cable into the wall socket. Now, observe the charger to check whether the charge gets turned on or not.
If you see that the charger doesn’t get turned on, then it is obvious that there is some connection problem between the charger and the wall socket. If the wall socket is okay, we can reach the decision saying the charging cable is faulty.
This is not a big deal at all. In this case, changing the charging cable is the ideal solution you can go for in the first place.
Step 6 – Try Listening to the Charger
This is one of the most important steps where you need to be very cautious and careful.
First, plug the charger into the power source (meaning the wall socket). Then, turn the dial on keeping the charger plugged in and now try to listen to the transformer of the battery charger for a humming sound. Or, it could be something like a click right after a hum. If you don’t hear anything, try checking the charger fuse (this may seem weird to you, but surprisingly it is sometimes one of the major issues).
If you find a blown fuse, then you should replace the fuse and try checking the transformer of the battery charger again. If it gets blown again, then the problem is likely to be a shortage of diode inside the transformer.
Step 7 – Checking the Output Voltage
If you notice no clicking noise after a hum or any kind of vibration of the transformer, then it is a sort of relief for you that the charger of the battery is not getting any power.
Hence, before you open the case up, it would be better to check the voltage of the charger plug. For this purpose, you need to manage a multimeter that is mainly used to measure the voltage of the battery charger.
Now, turn off the battery charger, and connect the multimeter to the battery charger for measuring the voltage. If you see no presence of voltage, then you have to try another thing.
For this purpose, you have to manage a continuity tester. Connect the leads of the continuity tester to the power cord blades after unplugging the charger. Now, twist the timer to see if you find out any continuity.
Step 8 – Continuity Test of the Battery Charger Output
Now it is time to perform a continuity test of the output plug of the battery charger following the method I have explained in the previous step. If you see there is no continuity after connecting the continuity tester to the plug of charging cable, then we can say that you have a faulty or shorted diode.
Step 9 – Checking the Grounding Wire of the Battery Charger
By grounding wire, I refer to a single wire that you will see coming out from the charger attaching to your golf cart’s metal frame (the metal frame is placed inside the engine housing). In this case, you have to remember the fact that a disconnected or lose grounding wire will stop supplying power to the battery. As a result, the battery of your golf cart won’t get charged.
Hence, this is a must-to-follow step that you can’t even think of skipping without having any confirmation.
Step 10 – Opening the Case
For this step, first, you have to manage all the tools required to open the case of the battery charger. Now, open the case and set up the multimeter and then check the timer switch.
Apart from the fuse, it is known to be the most common issue you can find on your battery charger. If the battery charger you have comes with an automatic timer, then you find a twist-type knob there on the front side.
Now, connect the leads of the multimeter to both of the contacts and then twist the dial. I hope that you will find continuity at this point. But if you notice no continuity shown by the multimeter, then we can assume that there is a bad timer switch.
Now, you have to measure the continuity between the termination point placed inside the case and the ending point of the charger contacts. Make sure you carefully the negative and positive points. Then, you can begin the testing connections of the components of the battery charger, which are placed on the front side. At this point, you have to be very careful while checking the continuity shown by the meter.
Step 11 – Checking the Ammeter
Now try checking and testing the ammeter using the continuity tester or multimeter. If you don’t find any continuity at this point, you have to replace the ammeter.
Step 12 – Checking the Capacitor
In this step, you have to check the condition of the capacitor of your battery charger. In this case, first, you have to disconnect the capacitor leads from the transformer. And then use an ohmmeter to measure the resistance.
In the case of a good-conditioned ohmmeter, you will see the needle will make a jump toward the middle point of the scale when ohmmeter leads are connected to the terminals of the capacitor.
On the other hand, for the case of a shorted or fused capacitor, you will see no movement of the needle even when the capacitor leads are connected to the capacitor terminals.
Step 13 (Final Step) – Checking the Transformer Windings
In this final step, you have to check the transformer windings using a multimeter to check whether there any open windings on any of the sides (meaning the primary or secondary sides).
Final Words
So, this is all you need to know about how to check a golf cart battery charger.
Interestingly, instead of electric golf cart ,if you have a golf push cart only, you need not to take the tension of checking golf cart battery charger.
I am quite sure that I have managed to explain all the steps required for checking the battery charger of a golf cart. For your convenience, I have tried to describe all the steps as much detail as possible. I think this is enough for any new or experienced golfer to check the battery charger by themselves.
Still, if you face any issue while checking or testing the battery charger of your golf cart, then don’t hesitate to knock me.
I will try my level best to help you out.
This is all I had planned to share this time about checking a golf cart battery charger.
See You Soon!
Good-Bye!